RSS

Tag Archives: dessert

Galette des Rois

Galette des Rois

galette 4

For the last few years we have adopted the tradition of Galette des Rois and subsequently have hosted a few parties at our petit apartment.  In the beginning, we chose to purchase the galette from a local boulangerie which usually comes with a crown and a bottle of cider (a nice package deal).  However, this year I decided that I wanted make the galette myself and thus started my research.  This is the hybrid recipe I came up with:

Pate Feuilletée

500 grams of flour

325 grams of butter

50 grams of butter

250 grams of water

10 grams of salt

Melt 50 grams of butter then cool.  Mix the flour and salt in a bowl then make a well in the center and add the water and melted butter.  Mix with a spatula until it forms a smooth ball then smash and wrap in plastic.  Rest for 30 minutes.

Form the butter into a square using two sheets of plastic film.  Remove the dough from the plastic and score with an X.  Gently pull each of the four sides of the X and roll each with a rolling pin to make a +.

galette 1

Place the butter in the middle then fold each flap over the butter brushing off the flour on the bottom so that the dough seals.  Roll the dough long then fold in 3 times to make a rectangle, brushing off the flour each time and then repeat the rolling & folding process once more.

galette 5

Mark the dough with two finger indentions, wrap with film and rest in the refrigerator for 1 hour.  Repeat the rolling and folding two more times and mark the dough with 4 finger indentions.  Rewrap and rest for 1 hour in the refrigerator.  Roll two last times and rewrap and rest for 30 minutes.  Now time to make the crème d’amandes.

Crème d’Amandes

150 grams of butter

75 grams of praline

75 grams of toasted ground hazelnuts

150 grams of sugar

3 eggs

1 teaspoon of vanilla extract

1 teaspoon of whisky

1 fève (small object, usually ceramic/porcelain to hide in the galette filling)

Syrup

50 grams of sugar

50 grams of water

1 teaspoon whisky

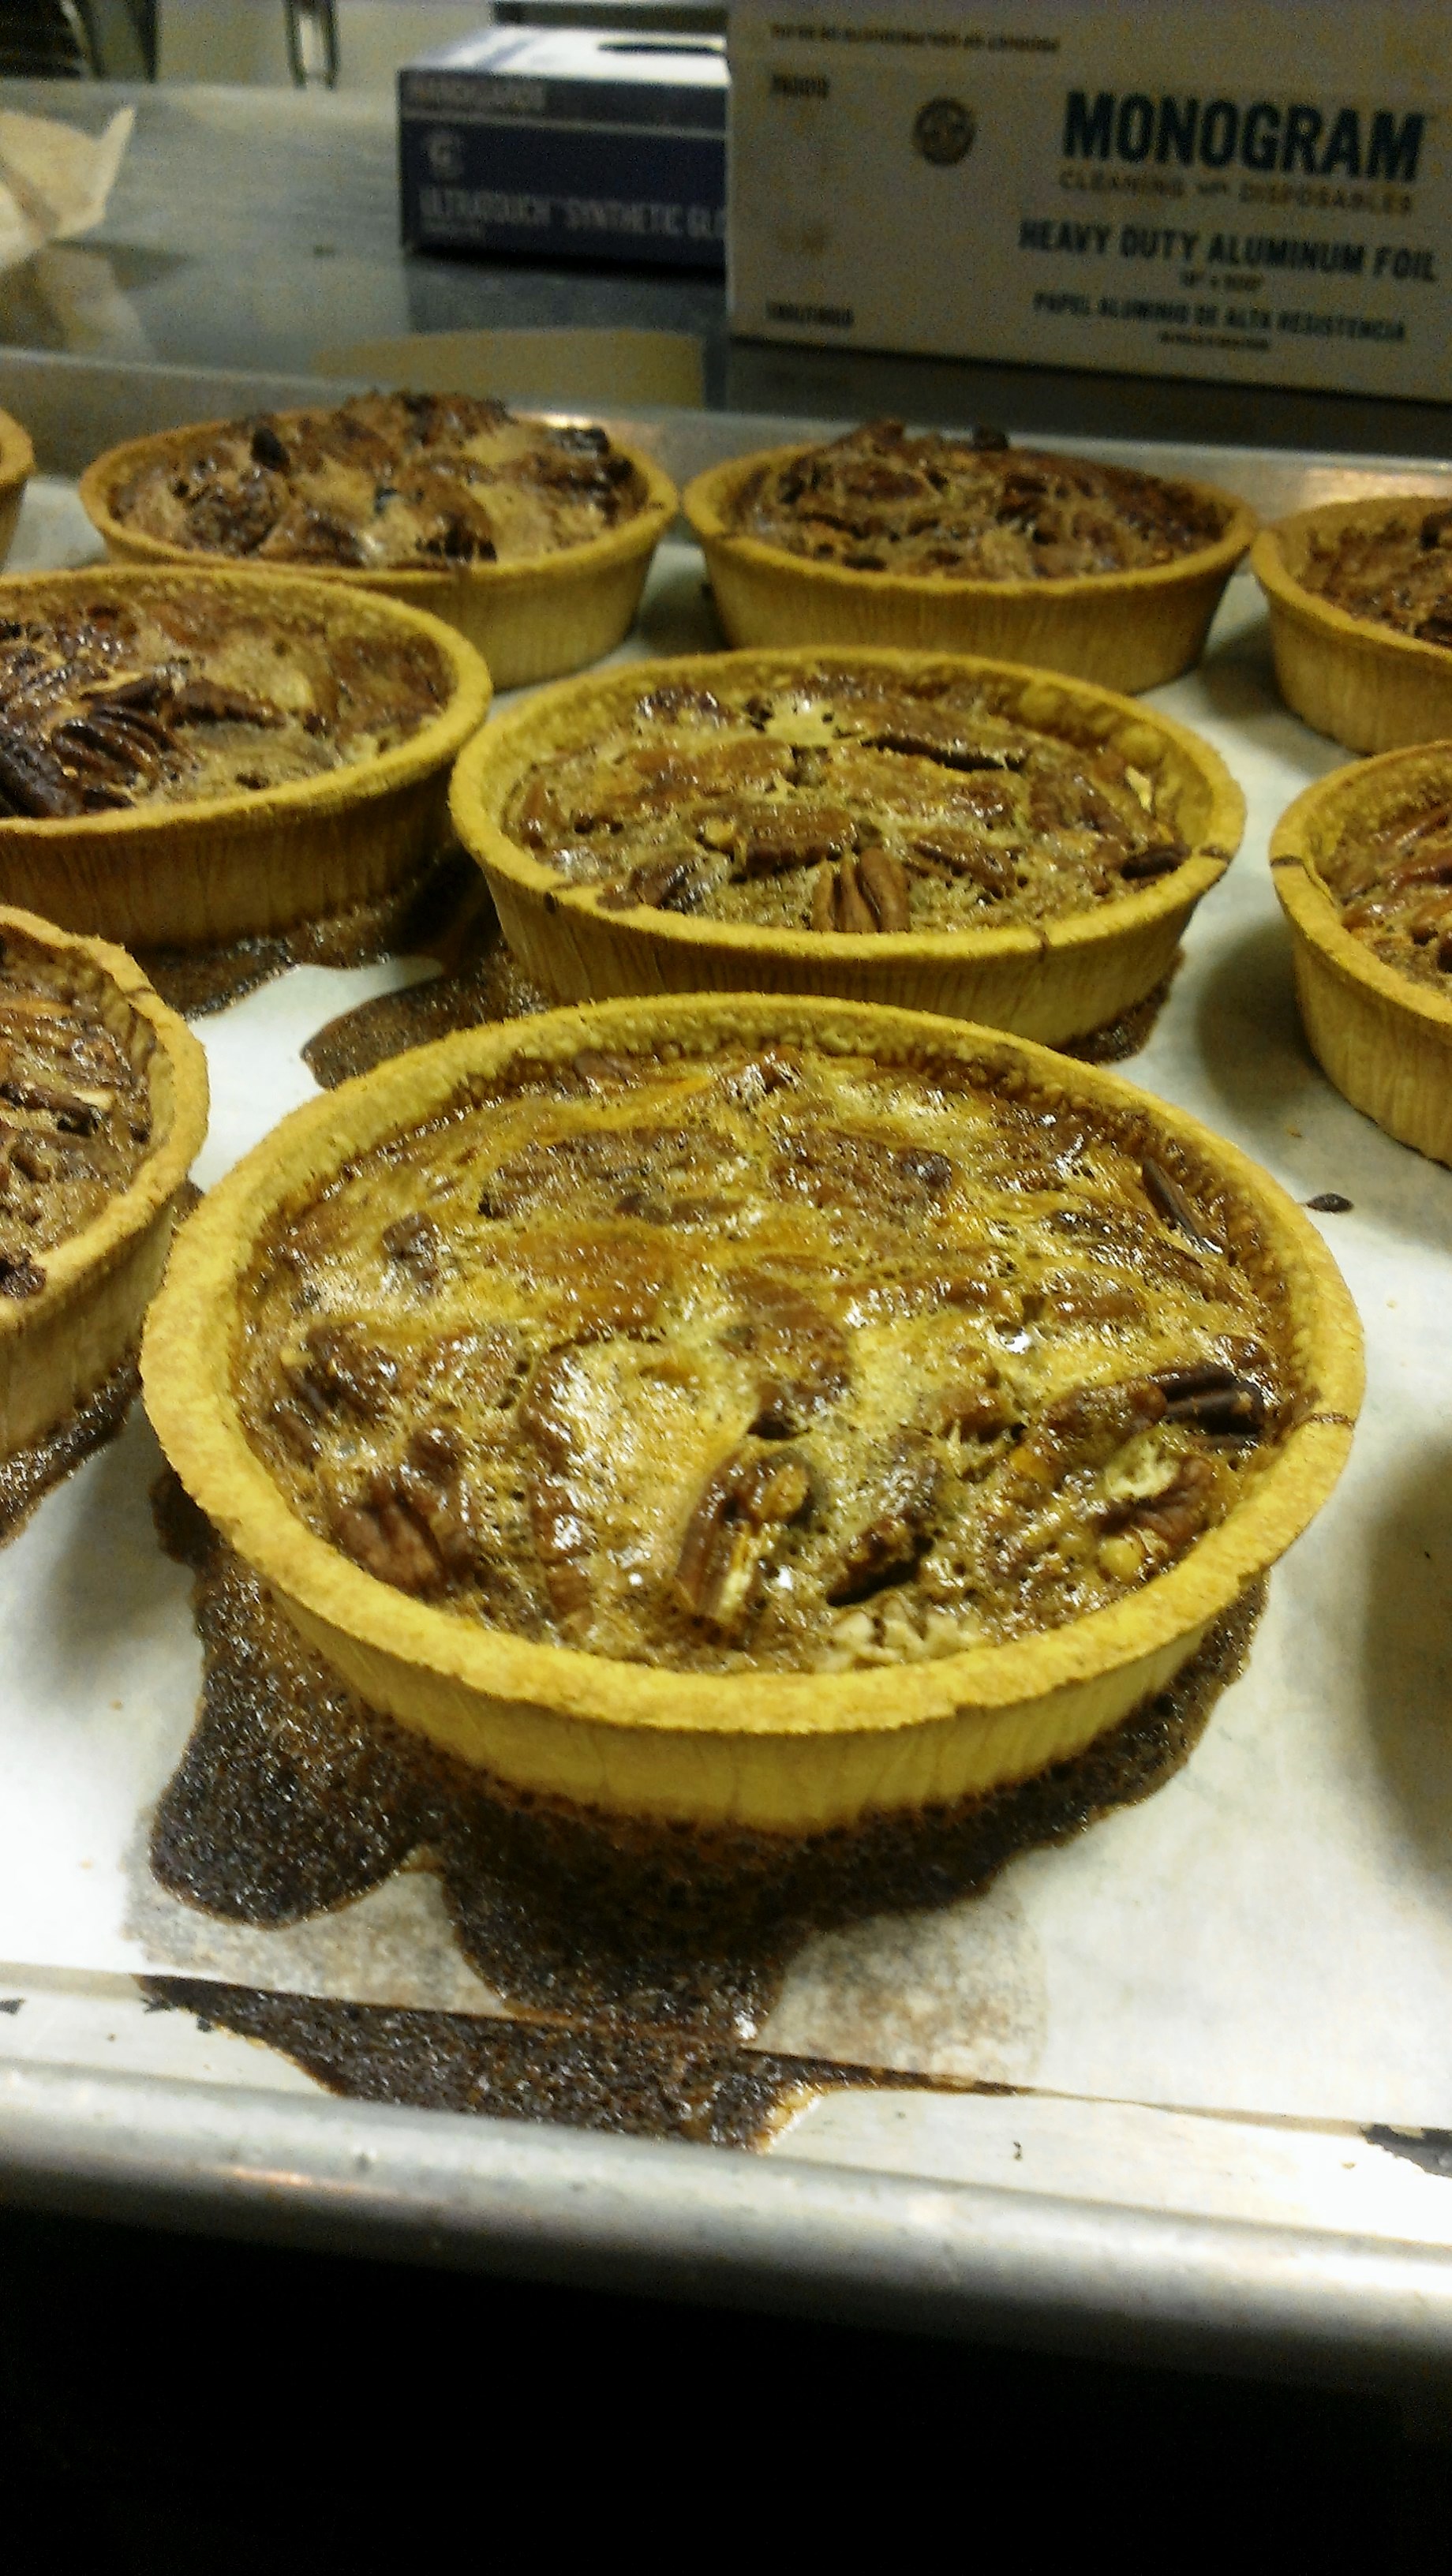
Mash the butter with a spatula until smooth then mix in the butter.  Mix in the eggs one by one until completely incorporated and finish by adding the whisky.  Roll the dough out and cut out two circles, size depends on how big of a galette you want to make (with this recipe, plan on having dough and filling leftover – you could use it to make another galette or something else of your choosing for example mini savory or sweet tarts).  Place the first ring of dough onto your baking pan and pipe the crème d’amandes into the center of the dough in a couple layers then drape the second piece over the filling.  With the back of a knife mark the edges of the galette then mark your desired design on the top.  Puncture with a couple holds and refrigerate overnight for at least 6 hours.

To bake, brush the top of the galette with an egg wash and bake at 200 degrees Celsius/392 degrees Fahrenheit for 20 minutes then another 30 minutes at 180 degrees Celsius/355 degrees Fahrenheit.  If the galette begins to brown too much place a piece of aluminum over the top and finish the baking time.  Once finished, remove from the oven and brush with the syrup and rest to cool before cutting and serving.  This galette can be eaten cold, but it is best served warm in my opinion. Bon appetite!


1 Comment

Posted by on February 16, 2018 in Dessert


Tags: , , , , , , , , , ,

Whipped White Chocolate Mousse

Buche de Noel

Whipped chocolate ganache has been something that I have been using for a while, but it has always been a very thick and decadent product.  I have been working on making it lighter and to not taste as rich so as to be able to increase its versatility.

For my brunch I have been doing a whipped panna cotta which reminded me of my whipped chocolate ganache and so I started working on mixing the two.  I ended up taking the milk from the panna cotta, reduced the amount of gelatin, and then added that hot mixture to white chocolate.  Then I added my flavorings to the cream and whipped it to stiff peaks and then folded that into the cooled chocolate panna cotta.

From here you could use it immediately or let it cool and mix later.  For my Bûche de Noël I added matcha and orange flower water and the aerated texture that is created after it sets in the fridge worked great to imitate the bark of a tree.


Light White Chocolate Mousse

500 grams milk

15 grams of gelatin

900 grams white chocolate

1 liter of cream

Vanilla and flavors to taste


Leave a comment

Posted by on January 1, 2018 in Dessert


Tags: , , , , , , , , , , , , ,

Mango Lassi Popsicles

mango popsicle

My new favorite desserts this summer are popsicles.  They are so easy to make and there are no limits to the flavor combinations.  It seems that they are popping up everywhere this year, even the franprix across the street has their own line.

For this recipe I make a puree of mango and a little sugar if it is not sweeet enough. Then I mix equal parts of coconut milk and cream.  Layer these in a mold and place in the freezer for 1 hour.  After it has started to freeze, place the sticks in the middle of each popsicle then return to the freezer until completely frozen.

I serve mine with a spicy chocolate sauce and some fresh raspberries from the garden.

Take the time and experiment with your favorite summer flavors.

Have fun and enjoy taking a break from the heat of the summer!

 
1 Comment

Posted by on August 24, 2017 in Dessert


Tags: , , , , , , , , , , , , , , , ,

Orange Chocolate Ganache

20150331_210816

Taking an old recipe you used before and reinventing it is sometimes more difficult than you would expect.  However, when you do manage to complete this task, you look at your new product and think, “Well, that wasn’t so hard.”

I upgraded my chocolate ganache from grilled ciabatta bread to spiced pain perdu with baked meringue, pistachio and sea salt.  I also really enjoy the fresh orange zest in the chocolate.

 
1 Comment

Posted by on April 12, 2015 in Dessert, Paris


Tags: , , , , , , , , , ,

Beet Versatility

beet salad

Beets are very versatile and are in season year round.  Two of my favorite preparations for them are roasting and pickling.

This “salad” featured above is seasoned with a confit lemon olive oil, fourme d’ambert blue cheese espuma, candied walnuts and grapefruit segments.  To finish, I drizzle a syrup of grapefruit and chili and a little fleur de sel and fresh black pepper.

???????????????????????????????

I also really enjoy making chocolate beet brownies.  The chocolate works great with the beets, as well as pureed with creme fraiche for a dessert sauce.

 
Leave a comment

Posted by on February 22, 2015 in Dessert, Fruits/Vegetables


Tags: , , , , , , , , , , , , , ,

Espresso Bourbon Pecan Pie Tart

As the holidays roll around each year, the obligation to keep with the long tradition of baking a pie arises.  One of my favorite pies has recently become pecan pie, of which I never liked when I was growing up.  In order to find my passion for this dish I added a couple of my favorite ingredients, bourbon and espresso!!!!

Espresso Bourbon Pecan Pie Tart Recipe

3 tablespoons butter

½ vanilla bean

½ cup brown sugar

¼ cup honey

3 tablespoons corn syrup

3 eggs, room temperature, lightly beaten

1 tablespoon flour

¼ teaspoon salt

2 tablespoons bourbon

1 tablespoon espresso

1 cup toasted pecans

-In a pan, heat the butter until it begins to foam and become brown.  Remove from the heat and swirl in the seeds from the vanilla bean scraped out as well as the bean.  Let it cool for 5 minutes.

Image

-Remove the pod and stir in the brown sugar, honey, corn syrup and eggs then transfer into a mixing bowl.

Image

-Fold in the flour and salt then stir in the rum and espresso.

Image

-Arrange the pecans in the pre-baked pie shell or tart shells however you would like.  For a more uniform look arrange side by side in 2 layers around the shell or just toss them in and level them our for a more rustic look.  Pour the filling over the pecans evenly.

Image

-Bake in a 350 degree oven for 10 minutes, rotate and continue until golden brown.

Image

-Remove the pie/tarts from the oven and cool on a rack at room temperature.  Top with whip cream and serve.

Image

However or whenever you celebrate the holidays, just think back to the first time you had a pecan pie and what it meant to you and how you felt.  Now you can feel that way whenever you want.  Have fun and enjoy!

 
Leave a comment

Posted by on February 12, 2014 in Dessert


Tags: , , , , , , , , , ,

Bhut Jolokia Chile Corn Ice Cream

As with the rest of the ice creams I make, I start out with an ingredient I love, and in this case admire.  The Bhut Jolokia Chile is known by a few different names, but one of the most publicized names is Ghost Chili.  This chili is an interspecific hybrid cultivated in the Indian states of Assam and Nagaland.  In 2007, the Bhut Jolokia was certified with the Guinness World Record for the World’s Hottest Chili Pepper.

Chili spices are rated on the Scoville Scale that measures them in SVU (Scoville Heat Units).  The SVU measures the capsaicin concentration of the spice.  Based on this scale, this chili has between 330,000 and 1,532,310 units, which make it approximately 400 times hotter than tabasco sauce.  In 2012, the Trinidad Moruga Scorpion Chili became the hottest chili in the world, of which I first used to make this ice cream.  Just last December they were both surpassed by the Carolina Reaper.

Another ingredient I love to use, and even just eat on its own, is Melissa’s Produce Dry Roasted Corn.  It is so sweet and delicious.  All of my fresh produce comes from Melissa’s Produce Company.

Image

Ghost Corn Ice Cream:

*Yields 3 Quarts*

1 Quart Whole Milk

1 Quart Heavy Cream

16 Egg Yolks

1 Pound Sugar

1 Fresh Ghost Chili

2 Packs of Melissa’s Dry Roasted Corn

Begin by heating the milk and cream in a medium sized pot.  Add the chili with the stem removed and the 2 packs of corn.  Bring to a simmer, then remove from heat, cover and steep for 30 minutes.  Once the mixture is done steeping, combine the yolks and sugar in a stand mixer fitted with a whisk and cream them together on high speed until light and pale.

Blend the cream mixture carefully in a blender until smooth, then return to heat.  (Please note, when blending a liquid, you need to start out on a very low speed.  If you start high, the steam will build up and pop off the top and then you will be covered in hot cream and chili.)  Temper the cream mixture with the yolk mixture, and over low heat slowly cook the custard while continuously scraping the bottom of the pot with a rubber spatula until it coats the back of a spoon.

Transfer the mixture into a bowl set over an ice bath and stir until cooled.  Process the mixture using an ice cream machine (follow the instructions provided by the particular ice cream machine you are using).  Store in the freezer in an air tight container labeled and dated.

Image

Just remember that any ice cream made with a chili or pepper can be hot!  You may be tempted or tricked to eat more of the ice cream to help cool your mouth.  However, doing so will only make it worse.  My wife found out the hard way (she loved the taste and kept eating it, but it was a little too spicy for her palate).  Only those with tolerance for heat need consume.  Now get out there and make some ice cream!

 
2 Comments

Posted by on January 16, 2014 in Dessert


Tags: , , , , , , , , , , , , , , , , , ,

Honey-Thyme-Orange Ice Cream with Blackberry-Goat Cheese Swirl

It has been more than 6 months since our last ice cream entry so I believe it is time to fire up the ice cream machine again!  Today’s ice cream will be a bit more on the savory side, but still using blackberry for the swirl.

Thyme is sold both fresh and dried.  Fresh thyme is more flavorful, but less convenient (storage life is rarely more than a week).  Summer-seasonal, fresh greenhouse thyme is available year round.  A recipe may measure thyme by the bunch, by the sprig or by the tablespoon and teaspoon.  The leaves may be removed from the stems by scraping with the back of a knife, or by pulling through the fingers or tines of a fork.  For this recipe we will be using whole sprigs of thyme.

Image

Honey-Thyme-Orange Ice Cream with Blackberry–Goat Cheese Swirl Recipe

2 cups whole milk

4 cups heavy cream

6 large sprigs fresh thyme

1 cinnamon stick

¼ cup orange flavor liquor

8 egg yolks

1 cup honey

2 pints of blackberries

3 cups of sugar

6 tbsp of creamy goat cheese

We are going to start this recipe by bringing the milk/cream to a simmer.  Once it starts to simmer, remove from the heat and add the thyme and cinnamon stick.  Cover the pot and steep for 30 minutes.

Image

While that is steeping, combine the blackberries and 1 cup of sugar in a mixing bowl.  Set mixture over a pot of simmering water and let it cook for 15 minutes.  Once the time is up, puree the blackberry mixture and strain into a bowl with the goat cheese.  My preference on goat cheese to use is the Laura Chenel brand.  Mix them until they are completely combined, then cool in the refrigerator.

Next step is to combine the egg yolks, remaining sugar, orange liquor and honey in a mixer and whip until it becomes light and fluffy.  Slowly whisk a cup of the hot mixture (milk/cream, thyme, and cinnamon stick) into the yolk mixture, tempering, and bring the temperature of the yolk up without cooking it as you add it back into the remaining hot mixture.

On medium low heat, start to cook the custard while constantly scraping the bottom with a rubber spatula until it is thick enough to coat the back of a spoon evenly without immediately falling off.  Strain the custard through a strainer into a bowl set over an ice bath and stir until completely cooled.

Image

Fire up the ice cream machine!  Process the ice cream according to the manufacturer’s directions.  As you are removing the finished ice cream from the machine, drizzle the blackberry goat cheese throughout and stir a few times to make swirls.

Image

Hope you enjoy this delicious treat!

 
Leave a comment

Posted by on September 4, 2013 in Dessert


Tags: , , , , , , , , ,

May the Cupcakes be with you!

Cupcakes have become a very popular replacement for wedding cakes.  It is a great idea if you have multiple flavors and you want everyone to try them, especially if you are baking mini cupcakes.  The wedding I just catered desired five different flavors, vanilla bean with vanilla buttercream, carrot cake, red velvet, Reese’s peanut butter cup, and the focus of this entry, chocolate Guinness with Bailey’s cream cheese frosting, which was also their wedding cake flavor.

Image

The best place to start when making cupcakes is with your favorite cake recipe.  Many people try to overthink the process by believing that they need a specific recipe for cupcakes (that is simply not the case).  For these cupcakes, I took my favorite chocolate cake recipe and just added a bottle of Guinness (in place of the milk), then added sour cream (for the fat).

When making cupcakes you want to remember to always sift your dry ingredients together.  By sifting the dry ingredients together you avoid having lumps of flour that when baked won’t break down and will cause a dry patch in your cake.  If you do not own a sifter you can use a food processor and it will mix and break up all of the dry ingredients (or just use a spaghetti strainer like my wife).  Next in a mixer (I used a stand mixer) you will beat the sugars with the butter until it starts to become smooth and fluff a little.  One by one add one add the eggs then vanilla extract.  Alternate the dry ingredients with the addition of the Guinness.  Once the batter is thoroughly mixed together, add the sour cream and fold in completely.

Image

Setting up your cupcake pan is easy; you place the papers in the muffin/cupcake pan and fill them up three quarters of the way full of batter.  I like to use a piping bag to pipe the batter into the cupcake papers.  Bake the cupcakes at three hundred twenty five degrees, rotating every five minutes, until a pick comes out dry.

           Image        Image

Once the cupcakes are done baking, let them cool in the pan for 10 minutes then carefully remove them and place on a cooling rack to cool completely.  If you leave them in the pan for too long they will start to sweat and the wrappers will start to fall off.

Image

Now you can start the frosting process.  Start by mixing your cream cheese and butter (both should be at room temperature) with sifted powder sugar.  Mix in your mixer until smooth and fluffy.  Slowly add the Bailey’s Irish Cream.  Once completely mixed, transfer the mixture to a piping bag (using any tip), and carefully pipe on top of the Guinness cupcake.

Image

Use your imagination with cupcakes!  Think about your favorite dessert and just use the flavors, such as tiramisu or banana fosters.  You can also switch things up and go more on the savory side, like maple candied bacon or cornbread cupcakes and top them with a chili spiced cream cheese frosting.

The possibilities are limitless!

Chocolate Guinness Cupcakes:

2 C unbleached all purpose flour
1/2 C Dutch processed cocoa powder
1/4 tsp salt
1 1/2 tsp baking soda
1 C granulated sugar
1/2 C light or dark brown sugar
1/2 C unsalted softened butter
2 tsp vanilla extract
2 eggs
1/2 C sour cream
1 12 fl. oz. bottle/1 1/2 C Guinness or stout beer


Bailey’s Cream Cheese Frosting:

1 8oz. bar of cream cheese, softened
1 4oz. stick of unsalted butter, softened
2 C confectioner’s sugar
4 – 6 Tablespoons of Bailey’s Irish Cream


Leave a comment

Posted by on August 26, 2013 in Dessert


Tags: , , , , , , , , , ,

Chocolate Dipped Stone Fruit w/Ice Cream

Summer is stone fruit season, which makes it one of my favorite times of the year!  The produce in the summer and early fall is so amazingly delicious.

When talking about “stone fruit,” the term refers to members of the genus Prunus, which includes plums, cherries, peaches, apricots, and nectarines.  The blooms that produce the fruit are very fragile and extremely susceptible to frost and even strong winds.

The use of stone fruits can vary and range from fillers in a salad, to roasted and stuffed into a cobbler.  I prefer the simplest use, the one that really compliments the fruit and at the same time gives it the elegant perception of “Chocolate Covered.”

Image

To make this dessert, simply melt your favorite chocolate (preferably a bitter sweet) in a bowl over simmering water.  Once the chocolate has melted, scrape the chocolate into a small bowl or container that will allow you to fully dip the fruit without too much maneuvering or trouble.  After you have dipped half of the fruit in the chocolate, lightly scrape off part of the extra chocolate from the bottom of the bowl and place onto a chilled plate.  Allow time for the fruit to cool and the chocolate to harden.  You may now double dip into a different kind of chocolate to give a more hand crafted look or just scoop your favorite ice cream into the middle and serve immediately.  Really, it is that simple!  Don’t miss out on this wonderful time of year!

 
1 Comment

Posted by on August 18, 2013 in Dessert


Tags: , , , ,