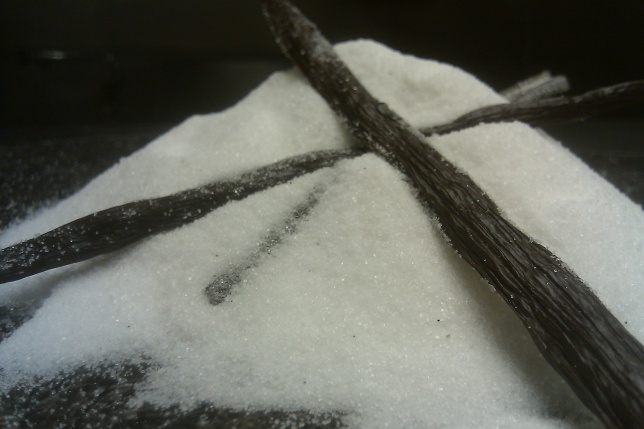
Love bacon? Candied bacon is the best thing to start with when you want to add bacon to any dessert. This treat is quite easy to make, but there are many steps.
Before you start this recipe, you need to decide which bacon you like the best – you will need a dozen strips for the recipe. I prefer to buy a slab of bacon from the butcher, that way I can cut into strips myself; my favorite is maple blueberry bacon from Whole Foods Market.
Begin by cutting your strips of bacon; you may use any thickness you desire, I tend to lean towards three quarters to one inch pieces. Once they are all cut, place them in a medium sized pot then fill with water until just covered. Simmer this for five minutes then drain.
In the same pot place a cup of granulated white sugar and the same amount of water and heat until the sugar is dissolved. Add the poached bacon and simmer for five more minutes. Drain once again and cool on a baking pan.
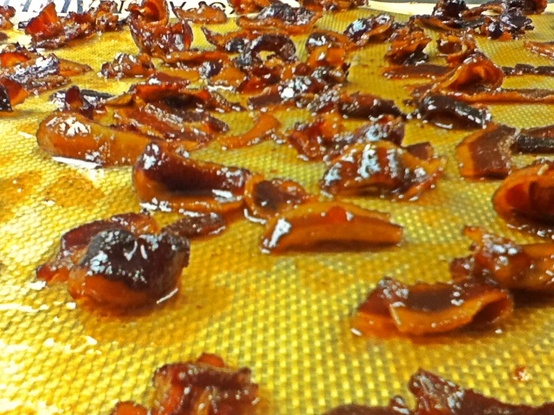
Once you have cooled the bacon, place in a deep fryer or a pot of canola or vegetable oil, whichever you prefer to fry with. The heat should be at three hundred and twenty five degrees, fry until golden brown. This will caramelize the sugars on the outside of the bacon and create a nice coat on the outer layer. Drain the extra oil off and cool once again for a few minutes on the same baking pan.
In a large sized sauté pan place a quarter cup of honey, a quarter cup of maple syrup, and a quarter cup of water. Bring that to a simmer and then add the bacon. Once the mixture reduces down and coats the bacon entirely, then transfer to a baking pan with a baking mat and place in a three hundred and fifty degree oven. Check and rotate every couple minutes until they start to darken as shown in the picture. When ready, remove from the oven and cool to room temperature. Store the candied bacon in an airtight container with wax or parchment paper between each layer.
This is a great way to add bacon to any of your favorite desserts. I love to fold it into my favorite flavored ice cream when it is coming out of the machine. It also makes a great improvement to any cookie dough or cake batter folded in before baked off. This bacon also looks great as a garnish on top of cakes or layered in-between.
I admit, there are easier ways to make candied bacon (like topping with brown sugar before baking), but in my experience none give it the crunch and full flavor that you get from boiling, frying, then baking.
 It seemed like it would be a mystical and supernatural thing to be able to create the delectable morsels that have sparked such a fad that has lasted the generations, but come to find out, like everything else, it just takes some time, a good recipe to start practicing with, and a little fat to fry in.
So far the recipe I have had the most success with has been a pumpkin donut recipe I have been working on the last few days. I have managed to bring out the perfect amount of holiday flavor and also fry with less chance of misshaping the perfect holed oval.
I began by mixing 4 cups of all-purpose flour with 2 ½ teaspoons of baking powder, ½ a teaspoon of baking soda, 1 teaspoon of salt and 2 ½ teaspoons of my house made pumpkin pie spice. You are able to buy this spice at the grocery store, but paying five dollars for a spice when you already have everything at home to make it with is ridiculous.
Next I beat 2 eggs with 1 cup of sugar and ½ cup of brown sugar until lightly foamy. To that I added 1 cup of buttermilk, 2 tablespoons of melted butter, 1 tablespoon of vanilla extract and 1 cup of pumpkin puree. Once it was smooth I slowly added the dry ingredients and mixed just until it was all incorporated and the dough was formed.
I oiled two sheets of plastic wrap and divided the dough between those sheets and wrapped it tight. It also works to use a zip lock bag, just make sure you oil it and get as much air out as you can. It is best to rest the dough overnight, or if you are in a hurry, 2 hours in the refrigerator.
It seemed like it would be a mystical and supernatural thing to be able to create the delectable morsels that have sparked such a fad that has lasted the generations, but come to find out, like everything else, it just takes some time, a good recipe to start practicing with, and a little fat to fry in.
So far the recipe I have had the most success with has been a pumpkin donut recipe I have been working on the last few days. I have managed to bring out the perfect amount of holiday flavor and also fry with less chance of misshaping the perfect holed oval.
I began by mixing 4 cups of all-purpose flour with 2 ½ teaspoons of baking powder, ½ a teaspoon of baking soda, 1 teaspoon of salt and 2 ½ teaspoons of my house made pumpkin pie spice. You are able to buy this spice at the grocery store, but paying five dollars for a spice when you already have everything at home to make it with is ridiculous.
Next I beat 2 eggs with 1 cup of sugar and ½ cup of brown sugar until lightly foamy. To that I added 1 cup of buttermilk, 2 tablespoons of melted butter, 1 tablespoon of vanilla extract and 1 cup of pumpkin puree. Once it was smooth I slowly added the dry ingredients and mixed just until it was all incorporated and the dough was formed.
I oiled two sheets of plastic wrap and divided the dough between those sheets and wrapped it tight. It also works to use a zip lock bag, just make sure you oil it and get as much air out as you can. It is best to rest the dough overnight, or if you are in a hurry, 2 hours in the refrigerator.
 An hour before I roll the dough out and cut my donuts, I put it in the freezer to help get even cuts on my donuts. So after cooled in the freezer for an hour, flour a work space heavily and flour the top of the dough when you turn it out onto the table. Roll to about ½ an inch thick then dip your cutter in flour and cut out your pastries. Be sure to dip the cutter in flour after each cut to keep the dough from sticking to the cutter and becoming misshaped. The colder you keep the dough, aka the faster you work, the better the dough will keep its shape.
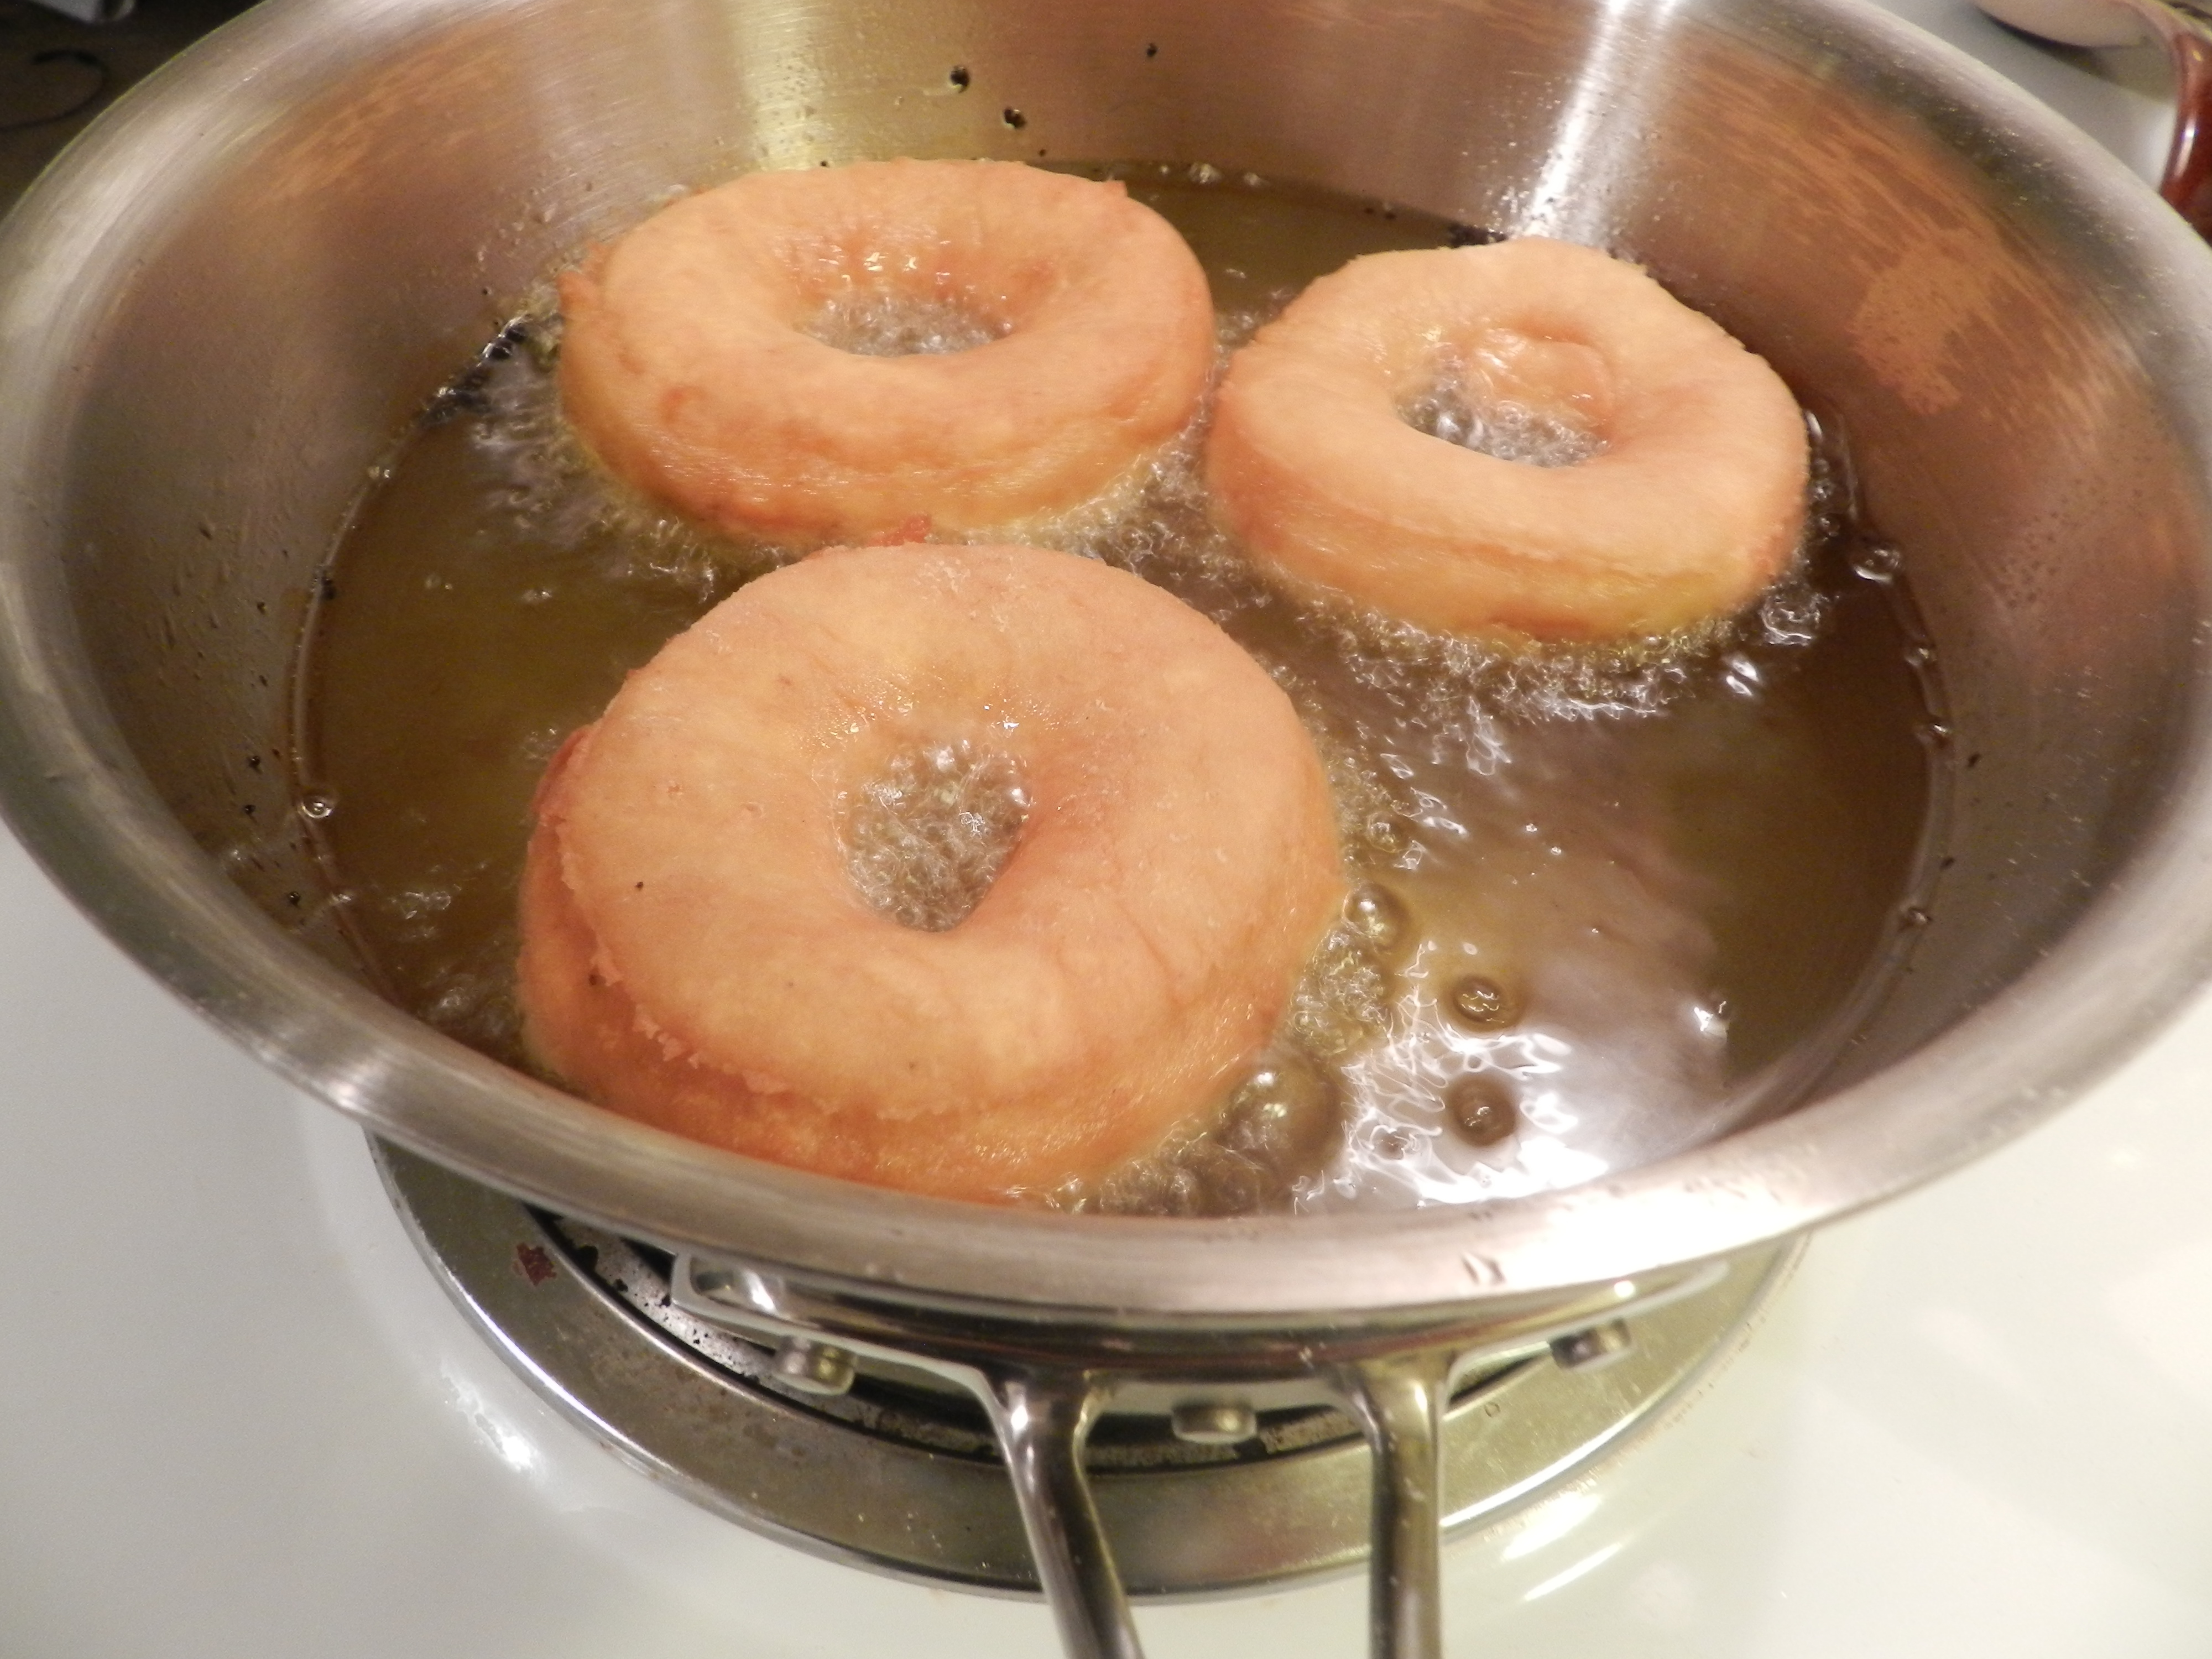
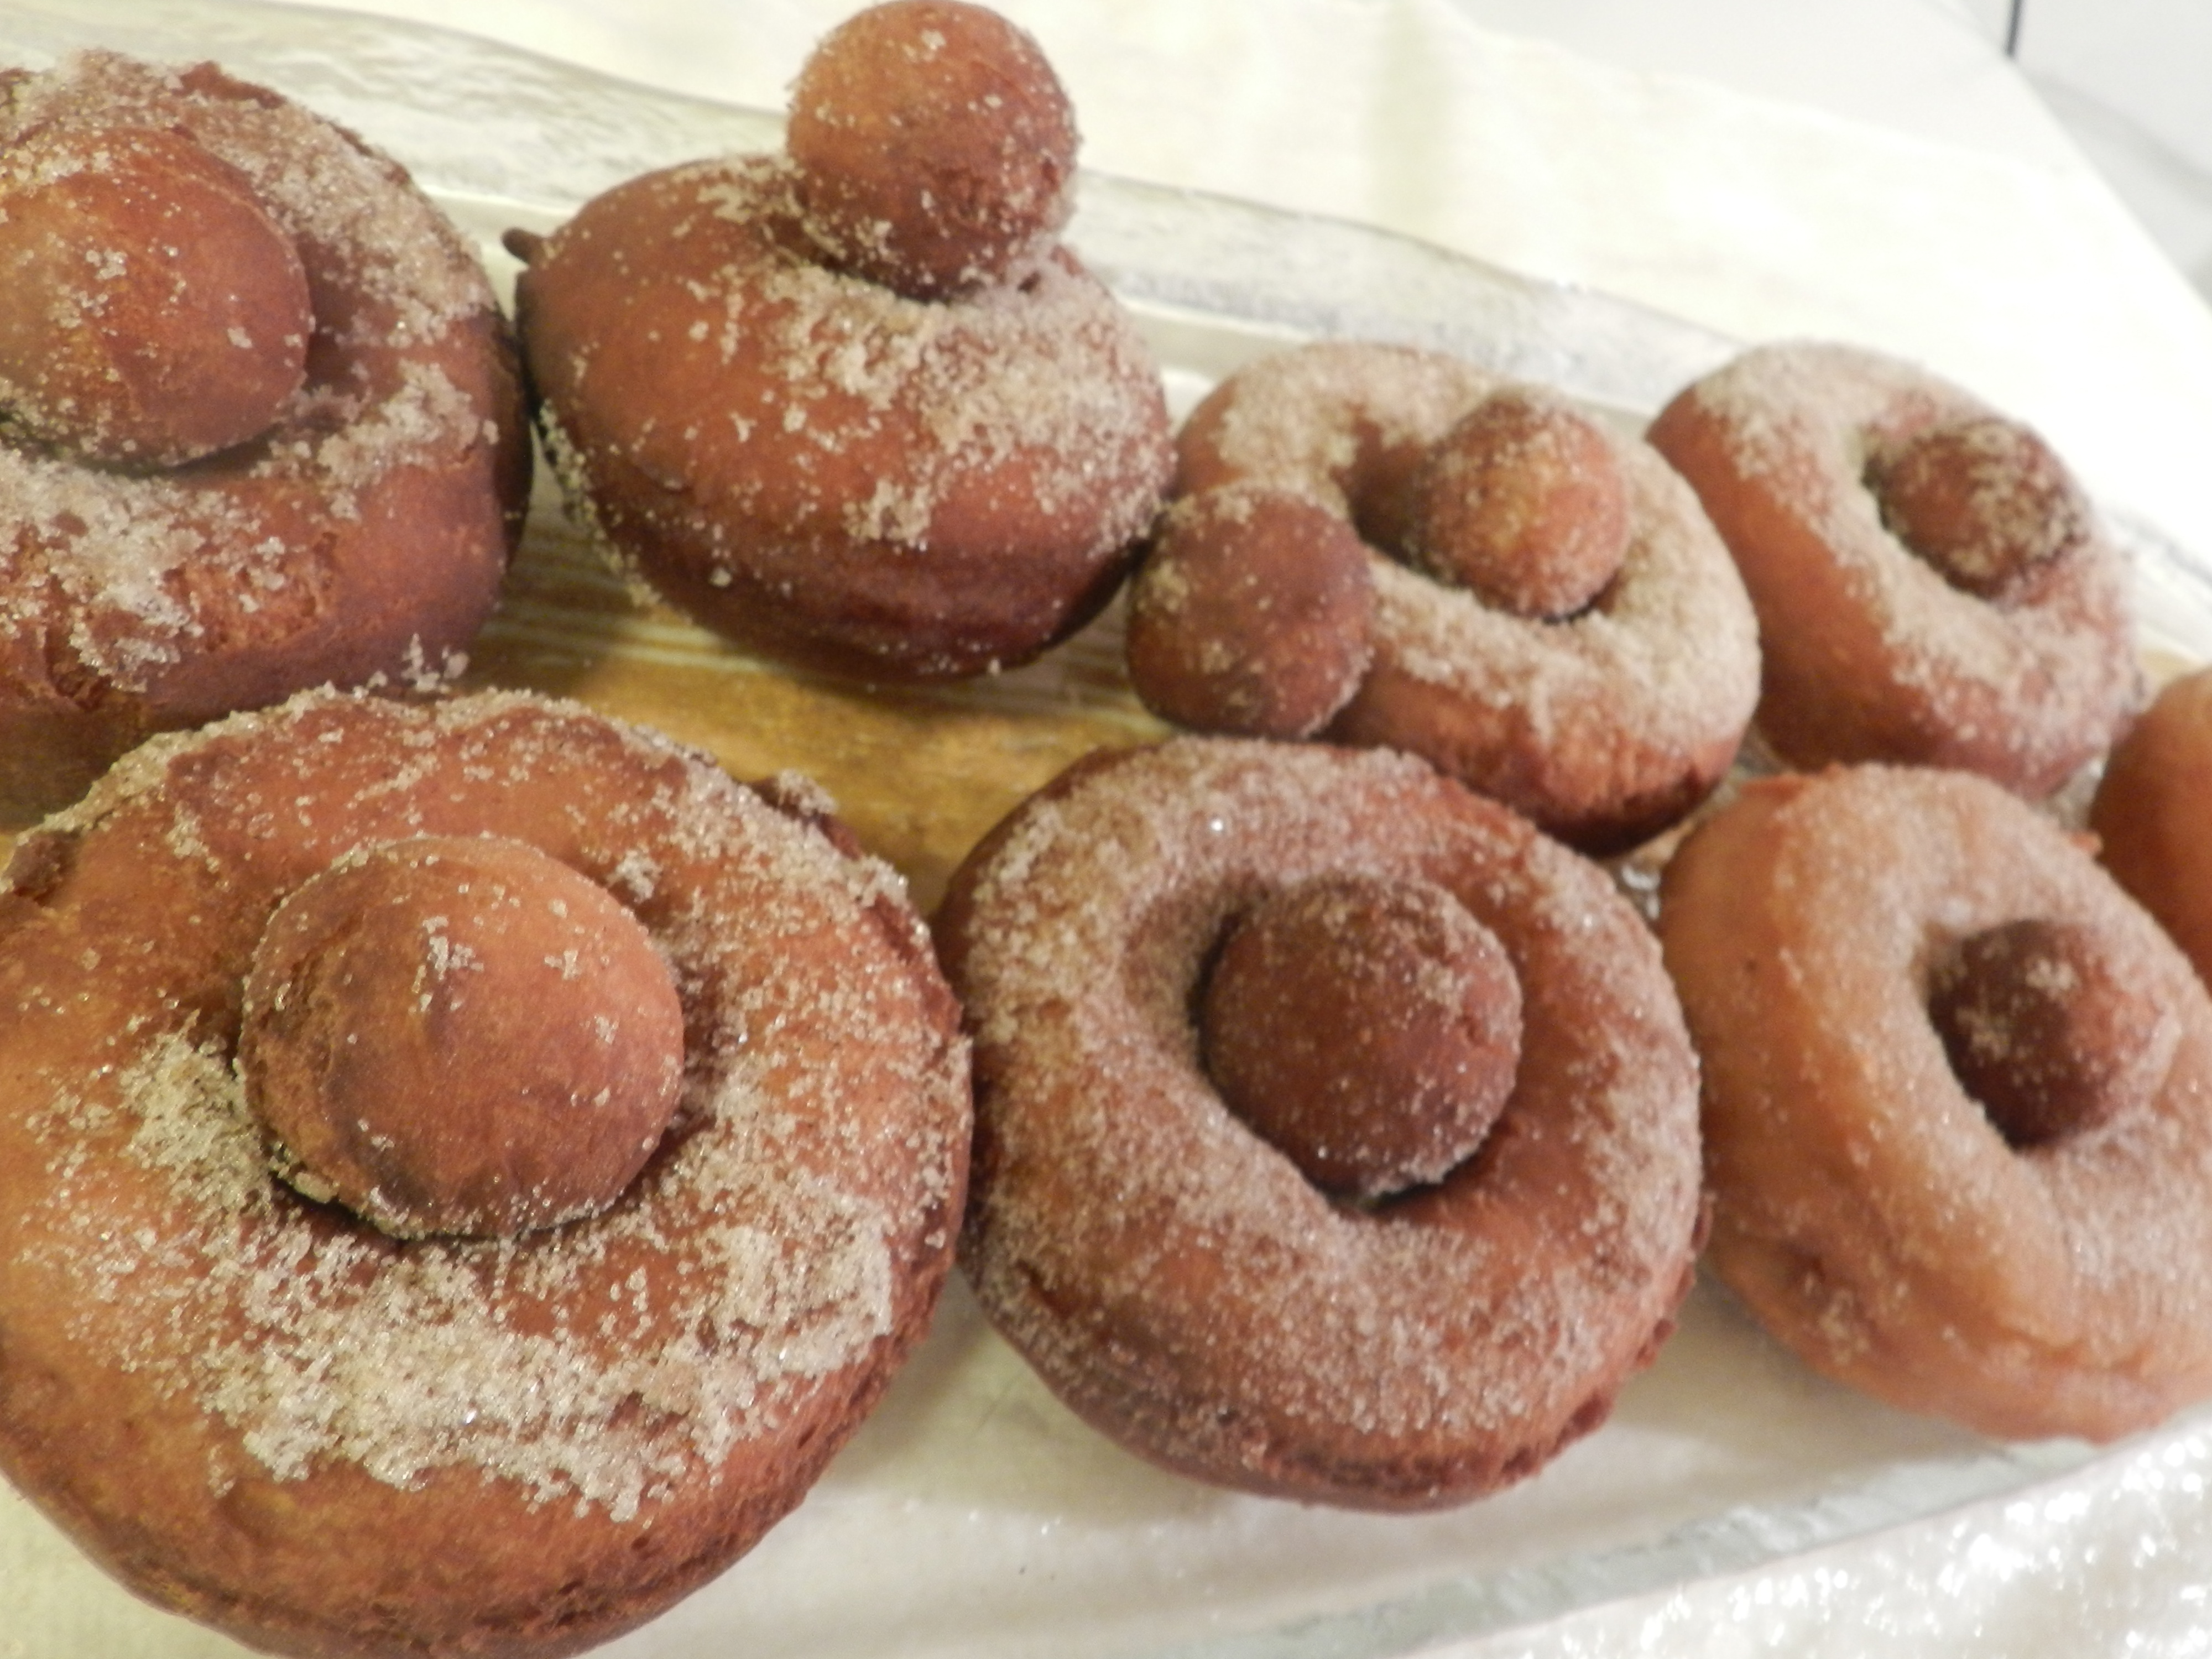
 After all the dough is cut, rerolled and cut again, I put the cut donuts back in the freezer while heating the oil to 360 degrees. Fry the donuts for 2 minutes on each side until a dark golden brown is reached. Remove from the fry oil and toss in sugar mixed with the same pumpkin spice from the recipe. Repeat the process with the donut holes but with only 1 minute on each side for frying.
 If you choose to just cut them into rounds and leave the hole in then after frying you can fill them with your favorite jams or jellies. Feel free to cover them with your favorite frosting or even just dip them in chocolate.
 Hopefully once you have completed this journey of making donuts, it invokes that memory that made you so fond of the delicacy that made you go through the trouble to make them yourself in the first place. I know for me it definitely invokes that memory.